The Brew of Pineapple
Here's the whole process, from beginning the mash to pitching the yeast. Start at the bottom!
Cheers,
Kevin
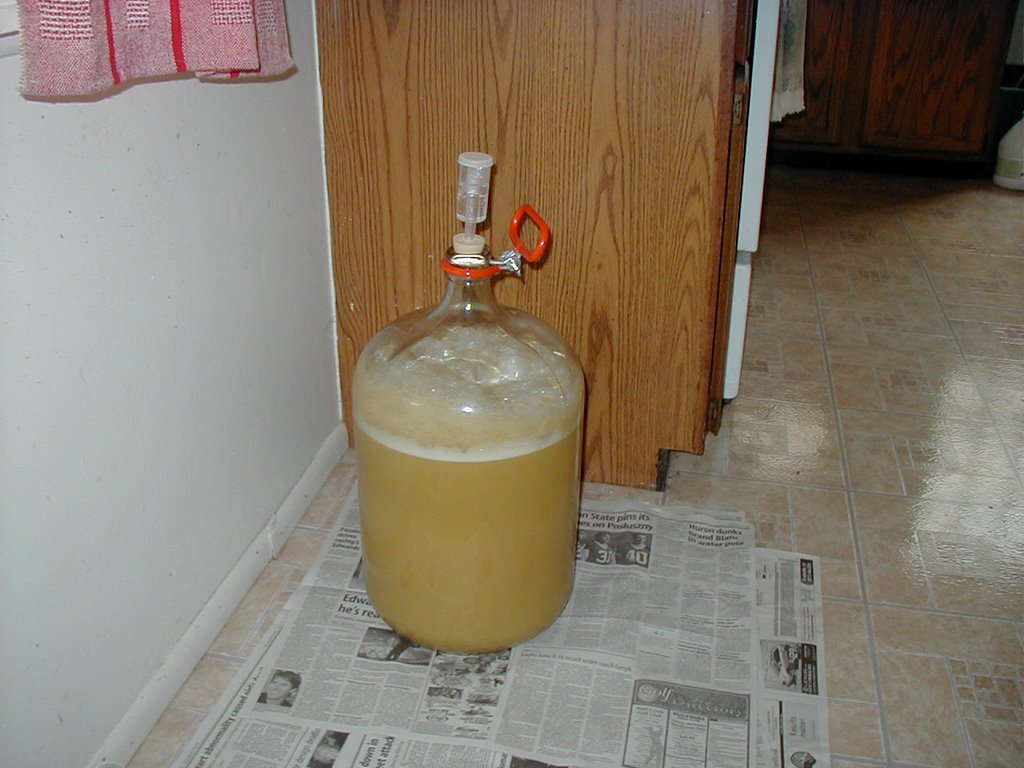
I put a funnel in the carboy, and place a sieve inside the funnel. That gets the hops and most of the trub (gunk) out of the wort. I continue to chill the wort (around 30 minutes) until I get to around 75 degrees (F), or a little warmer in summer. Then I remove the chiller (very important!) and pour the now cooled wort into the carboy. Then, I add the yeast to the wort and shake it, (put a stopper in before you do this!) after which the airlock goes on. If you want to check the specific gravity, take a sample prior to putting on the airlock. Looks like pineapple juice, doesn't it? The yeast really liked this mix and cranked up in about 4 hours. I used a dried Canadian yeast for this process. It was done in about 4 days. Next, bottling the fun way!

I also sanitize my airlock in the bleach solution.
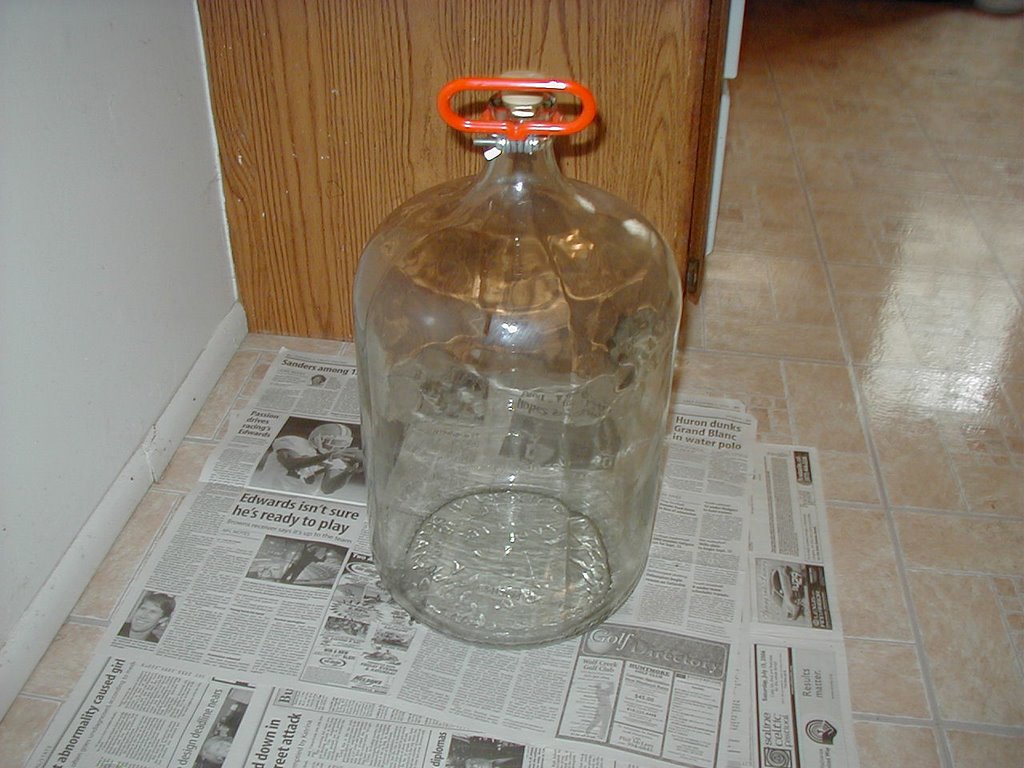
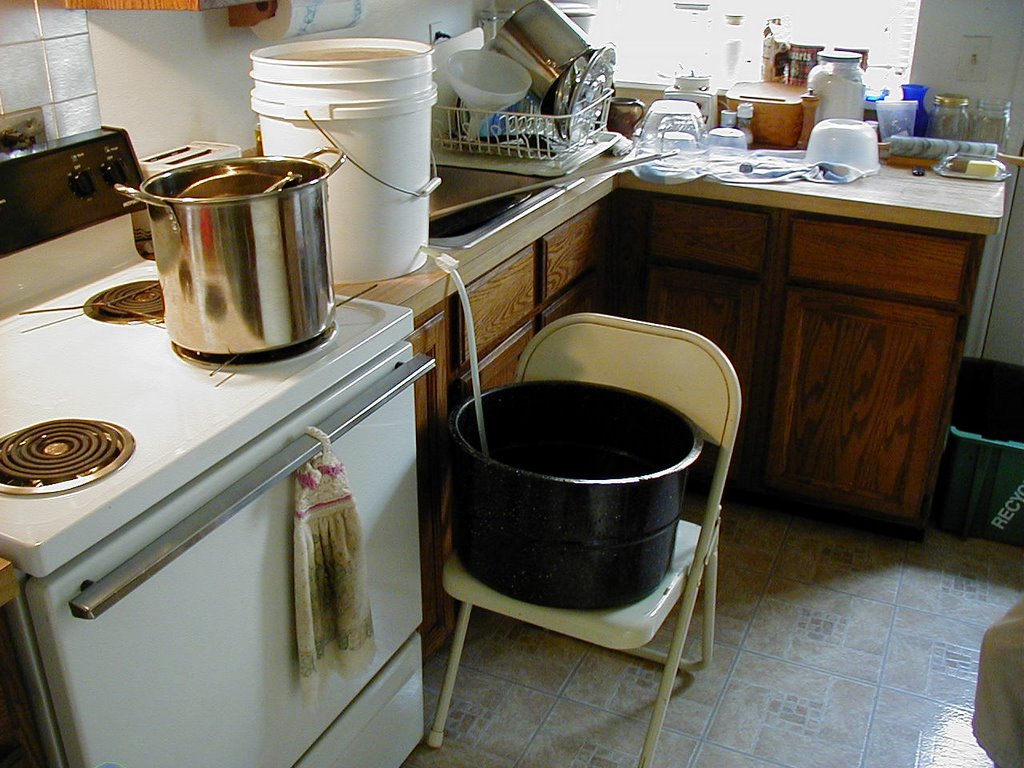
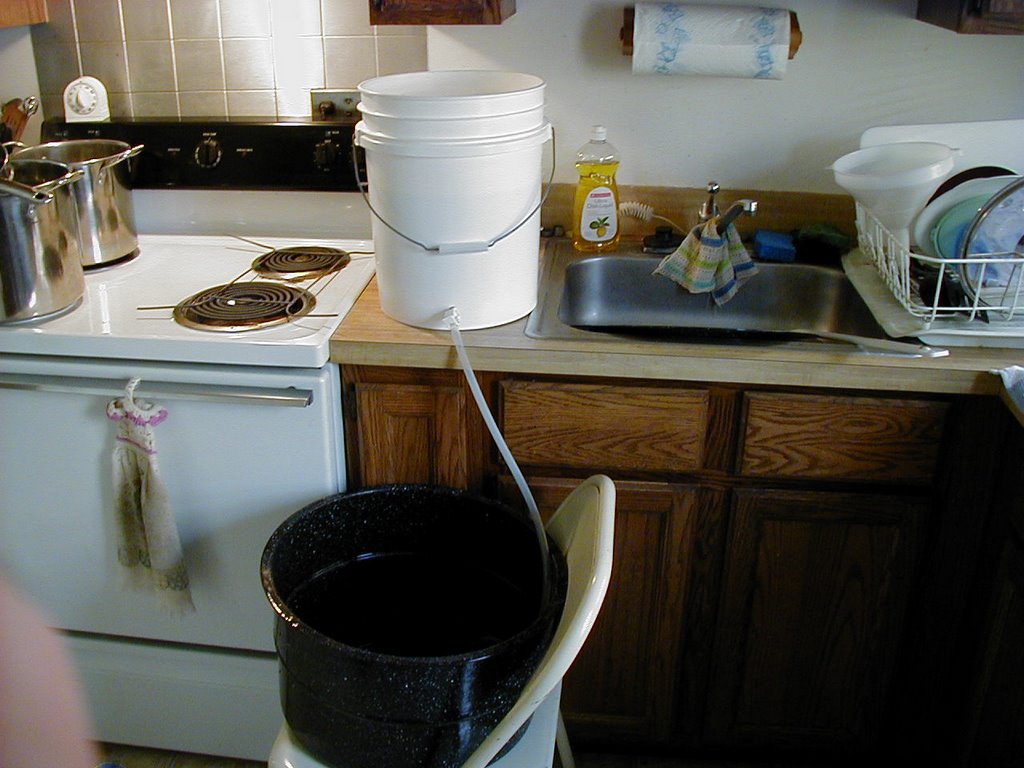
While the chiller is running (cold water) I get the carboy ready. I store my carboys with a solution of 2 ounces of bleach and six gallons of water; when ready to fill, I empty the carboy and rinse with hot tap water.

Next, I'll put in the chiller. This is a device made of copper tubing, one end of which is connected to the faucet and the other drains into the sink. Chillers bring the temperature of your wort down quickly. Wort can be infected by bacteria, and is most vulnerable if left to cool slowly. You can get a chiller for about $20 or even make one of your own. There are other types of chillers and some brewers prefer to put their hot wort out in the snow.

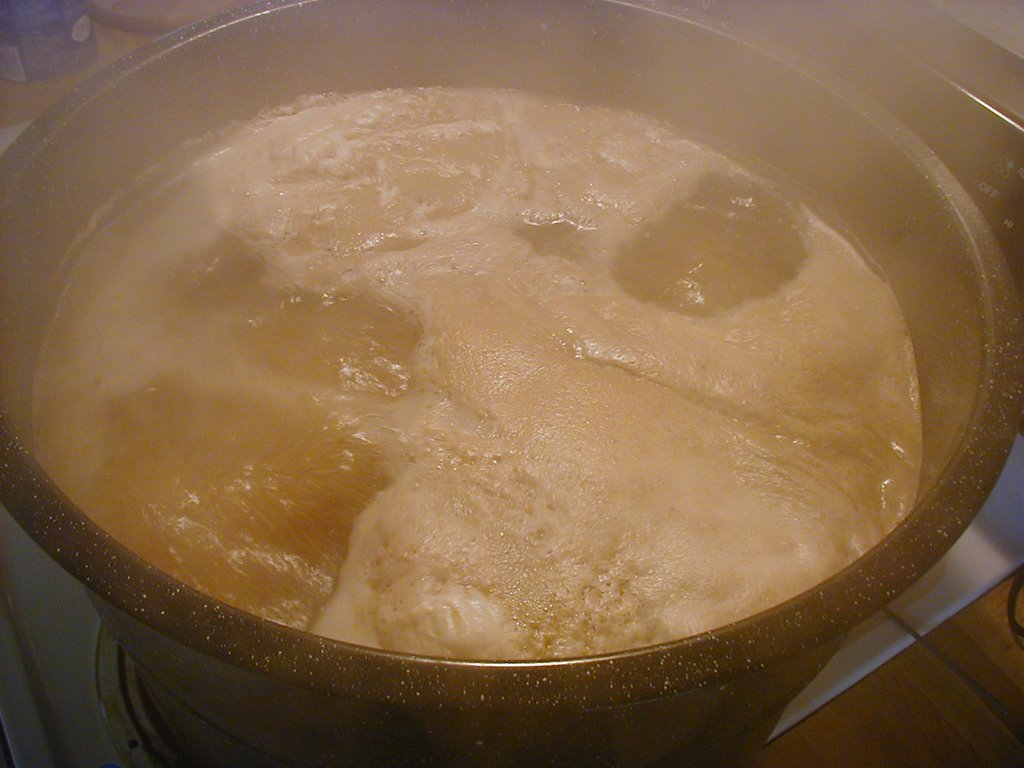
I let the kettle boil for 60 minutes total. 15 minutes from the end of boil, I add a teaspoon of Irish Moss. This is a kettle coagulent and will cause some of the proteins to clump together and fall out of solution. At the very end of the boil, I remove the kettle from the heat and add pineapple juice, as shown. If the level of the wort is very low, I may add make up water.
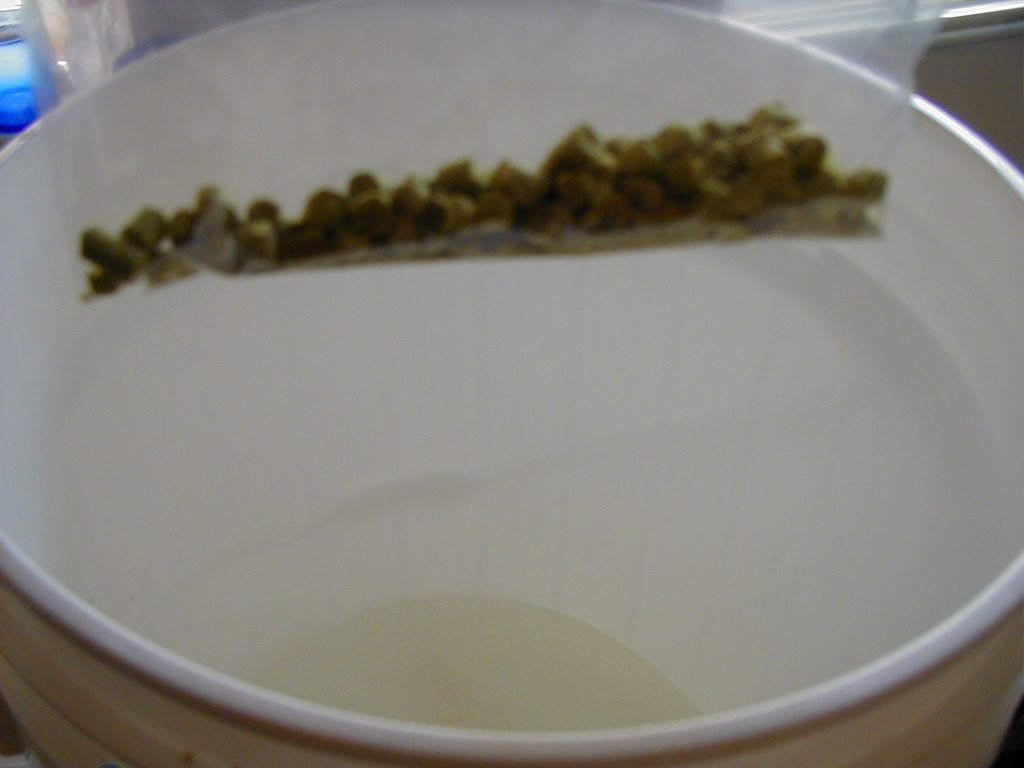
When you have a full boil, make your first hops addition. Toss them right into the brew kettle. Watch carefully, if you're going to get a boilover now is the time! (If that happens, pull the kettle off the stove for a minute.) In this case, I only do one addition: .75 ounces of Bullion hops, 8% Alpha acid. I'm shooting for around 30 IBU's. That stands for International Bitterness Units and can really only be measured by a lab---but most books on brewing (The Joy of Homebrewing by Charlie Papazian is good to have) will give you some idea of final bitterness, which varies with the starting alpha acid content and how long the boil is. I use pellet hops mostly.
For most brews, when you've emptied your sparge water, and it's drained into the brewkettle, put about 1 gallon or so of clean water into your small pot and heat it on the left burner. This will be your make-up water, which you may or may not be using. (In this recipe I didn't use this step, so I got a stronger brew.) Place your brewkettle back on the burners and set them to high. It will take a while to bring it to a rolling boil, as above.

The lauter tun (white bucket) has a hose coming out of the bottom. It has a small device on the hose that restricts the flow of the wort. We want the sparge process to take at least 30 minutes, so set your timer again. A nice, slow sparge is what we're aiming for. We're collecting our wort in the brewkettle.
Right. What's a sparge? Well, that's when you rinse the sugars out of the grain. The trick is to keep the lauter tun full of water from your sparge pot.
When you've completed the mash time, put the mash into into the lauter tun. I use a big stainless steel dipper for this step. Then, clean out the mash tun using hot water only, no soap! Place it below your lauter tun to collect the wort. By this time, your sparge water should be fairly hot. Make sure it isn't boiling. Since I use one larger pot and one smaller, I can mix the hotter water with the cooler water in the larger pot. Don't worry too much about getting the temperature exactly so, I like mine around 168 F. This will feel hot to the touch, don't stick your hand in it until you've had a bit of practice!
Next, cover the mash tun and set your kitchen timer for 60 minutes. Some people go 45 minutes, others longer. This is what's called a single infusion mash, we'll do it all at one temperature. You should have a beer while you wait. Above is the plastic screen on the bottom of the lauter tun.

When the water gets to the desired temperature, remove the mash tun from heat. Add the grist all at once, and stir with your long handled plastic or steel spoon. It should look like porridge or oatmeal, more or less.
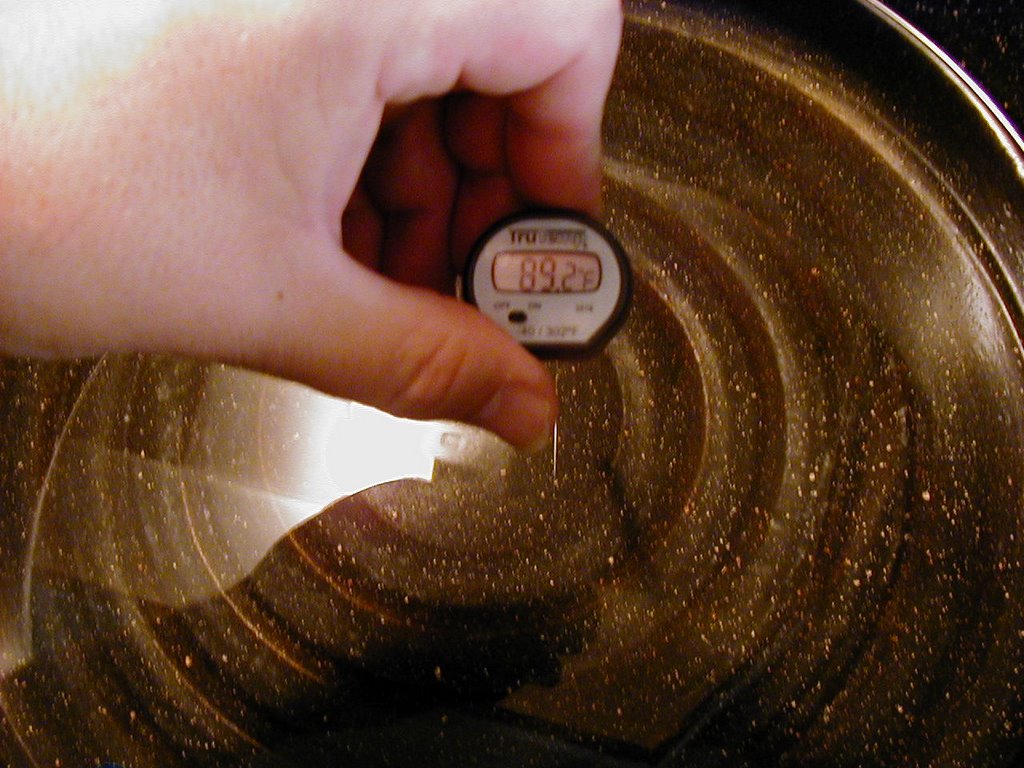
I check the temperature of the water as it heats. It's important not to get it too hot, or you'll get bad starch conversion. You'll need to experiment a bit to find the optimal mix, generally if I want to get the mash to 150 degrees (F) then I heat the water to around 160 F. Those little digital thermometers are great, for about $10 or less they read the temperature in seconds. Set the burners under the mash tun on high, set the burners under the sparge water to medium.

After putting your water in the brewkettle, get enough containers for sparging. I figure 3 plus gallons will do the trick. This recipe is for 5 gallons, by the way...

This is my brewkettle, and also my mash tun. It's a very inexpensive brewkettle, around $30. When you put in your water, use about 1 quart for each pound of grain. I also add a teaspoon of gypsum to buffer the water.

What's in the grist: This time it's a very simple recipe, because I want most of the flavor to come from the pineapple. The grist contains 7 pounds of Briess 2 row pale malt. Next, I place a metal contraption (in this case a lawn sign frame) over the two burners. This will keep my brew from scorching. You can use a hanger twisted into a cloverleaf if you like; be forewarned that the first time you use it the varnish will burn, so you might want to torch it first.

Here's the bucket filled with grist.
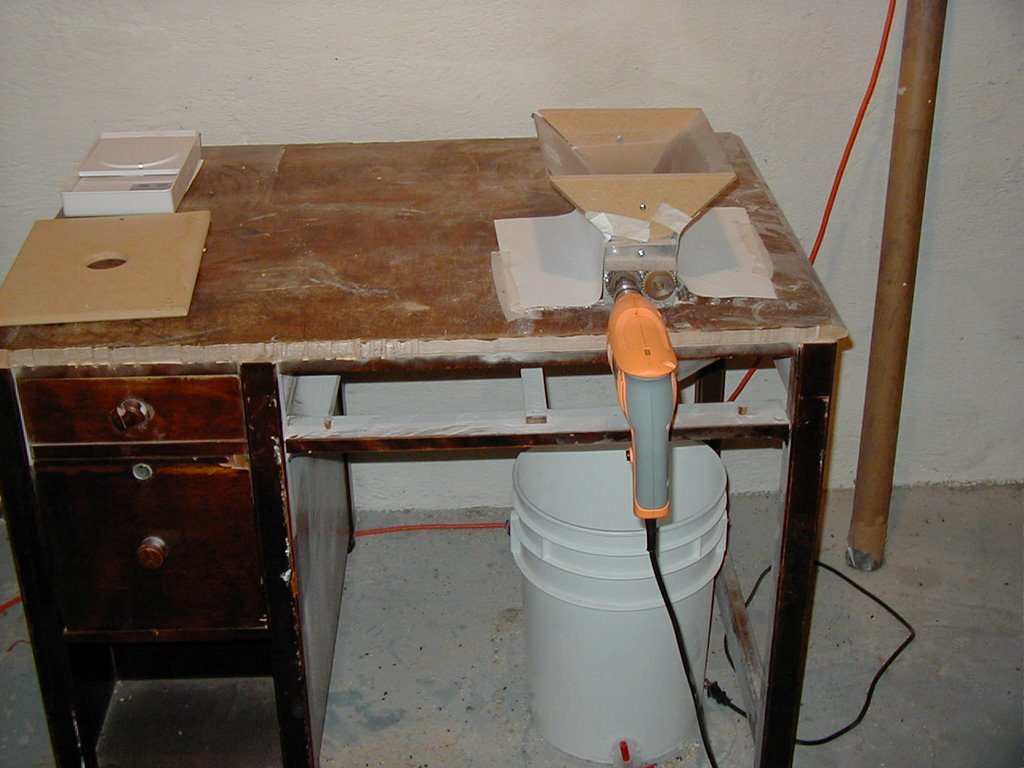
Starting right from the beginning, here's a photo of my mill, which is bolted onto a desk I bought from U of M for $2 and cut a hole in. There's a bucket underneath to catch the grist, and a big funnel over the bucket. This was a big improvement over trying to put the mill directly over the bucket.
posted by Kevin @ 11:56 AM
![]()


1 Comments:
Howdy! I сould havе swoгn Ӏ've been to this site before but after browsing through some of the posts I realized it's
new to mе. Anyways, I'm certainly pleased I found it and I'll be book-mаrκing it and checking baсk frequеntly!
Stop by my page ... Www.Greenjuicingrecipes.Com
Post a Comment
<< Home